The Clocks Fall Back Sunday. Here’s What Your Kitchen Lighting Is About to Tell You.
This Sunday, November 1, the clocks fall back an hour. You get an extra hour of sleep. In exchange, the sun sets about an hour earlier, right around the time most people start cooking dinner.
For the next few months, your kitchen will be running almost entirely on artificial light during its busiest hours. That makes this week the best time of year to find out what your kitchen lighting is missing.
Here’s the short answer: a well-lit kitchen uses three layers of light, and the layer most kitchens are missing is task lighting at the counters. If a kitchen remodel is on your list, lighting needs to be planned before the cabinets, backsplash, and drywall are finished, because that’s when the wiring decisions get locked in.
Try the after-dark test this week
Tonight, turn on the lights you normally use, stand where you do most of your prep, and pay attention to four things.
Your own shadow. If you’re chopping in your own shadow, your main light source is behind you instead of over the counter. This is the most common lighting problem in kitchens. A single fixture in the center of the ceiling lights the floor nicely and the counters poorly, because you’re standing between the light and your work.
The dark corner. Almost every kitchen has one: next to the range, at the end of a counter run, or in the corner where two runs of upper cabinets meet. It’s usually where the coffee maker or the cutting board ends up anyway.
The color clash. Look at your fixtures side by side. If one glows warm and yellow and the one next to it looks bluish white, you have mixed color temperatures. It’s one of the fastest ways to make a nice kitchen look patched together.
Glare. Look down at a polished counter or glossy backsplash. If you see bright hot spots reflecting back at you, the fixture placement is working against your finishes.
None of these mean you need a new kitchen. Some can be improved with better bulbs or a plug-in fixture. But if you’re already planning a remodel, the test gives you a specific list to bring to the first design conversation.
The three layers of kitchen light
Lighting designers and the U.S. Department of Energy describe interior lighting in three layers. Each one has a different job.
Ambient light fills the room so you can move around safely. In most kitchens, that means recessed lights or a few surface-mounted fixtures in the ceiling.
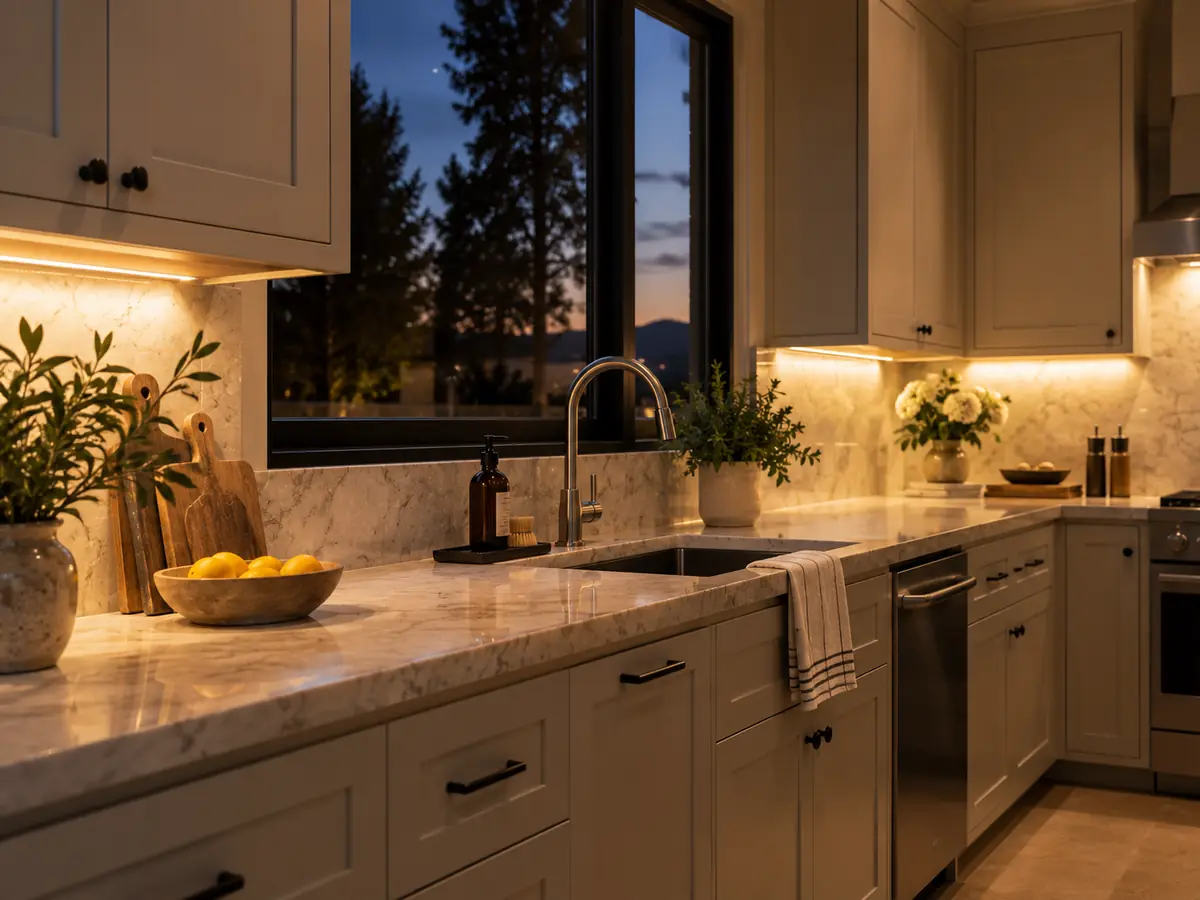
Task light puts concentrated light exactly where you work: the counters, the sink, the range, and the island. Under-cabinet lighting is the classic example, and the range hood light counts too.
Accent light adds depth and character. Think lighting inside glass-front cabinets, a strip above the upper cabinets, or toe-kick lighting near the floor.
Most older kitchens have plenty of the first layer and almost none of the second. That’s why a kitchen can feel bright when you walk in and still be frustrating to cook in.
Pendants over an island often do double duty as task and accent light. They’re a good example of why lighting needs to be planned with the layout. A pendant only works as task light if it hangs over the actual work surface, so the electrical box has to be placed for the island’s final size, not its rough outline.
What to decide before demolition, and what can wait
The biggest lighting mistakes in a remodel come from timing. Some decisions are cheap and easy early on and expensive later. Others can safely wait until the end.
Decide early, before rough-in electrical:
- Where every fixture goes. Recessed lights should be placed relative to the counters, not centered in the room. A common approach is to place them so their light lands on the front edge of the counter, where you’re actually working.
- Under-cabinet lighting wiring. Hardwired under-cabinet lights need wiring run to each cabinet location, and many systems need a spot for a power supply or driver. Once the backsplash goes up, adding them gets much harder.
- Island and pendant locations. As noted above, these are set by the final island dimensions.
- Switching and dimming zones. Decide which lights go on together. Many homeowners want the counter lights on their own switch, separate from the ceiling lights, so they can cook with bright task light and eat with softer light.
- Inside-cabinet or toe-kick lighting. If you want it, the cabinet order and the wiring need to account for it.
Can usually wait:
- The exact finish and style of decorative pendants, as long as the box locations are set
- Bulb color temperature, if the fixtures use replaceable bulbs
- Smart controls that work with standard wiring
A useful rule of thumb: anything that lives behind drywall, cabinets, or backsplash tile needs to be decided before those go in. Anything you can screw in or swap out later is a finishing decision.
What’s different in older Marin and San Francisco homes
Many kitchens in older Marin and San Francisco homes were built when one ceiling fixture was considered plenty. Adding layered lighting to these homes raises a few issues that newer construction usually doesn’t.
Plaster ceilings. Cutting a row of recessed light openings into old plaster and lath is a different job from cutting into modern drywall. Plaster can crack around the cuts, and the patching needs to be planned. In some remodels it makes more sense to open the ceiling fully while the kitchen is already torn up.
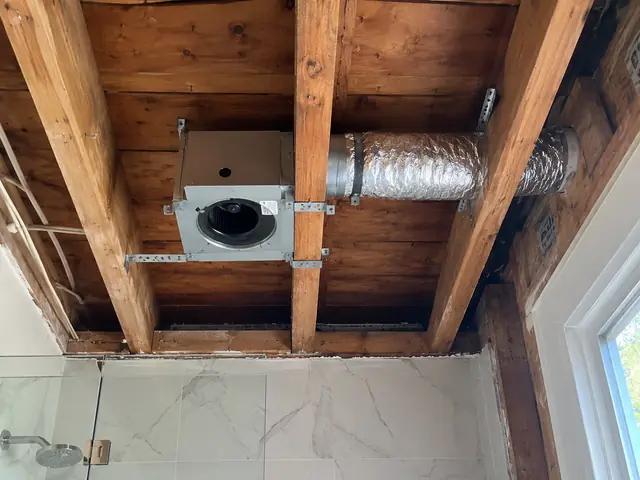
Joist direction and depth. Recessed fixtures have to fit between ceiling joists. In older framing, joist spacing and depth vary more than in modern construction, and that can limit where fixtures can go. Surface-mounted or low-profile fixtures sometimes solve this better than forcing cans into the framing.
Limited access above. In San Francisco flats, there’s often another unit or a finished floor directly above the kitchen ceiling. That limits how wiring can be routed and is a good reason to plan the whole lighting layout at once rather than adding fixtures one at a time over the years.
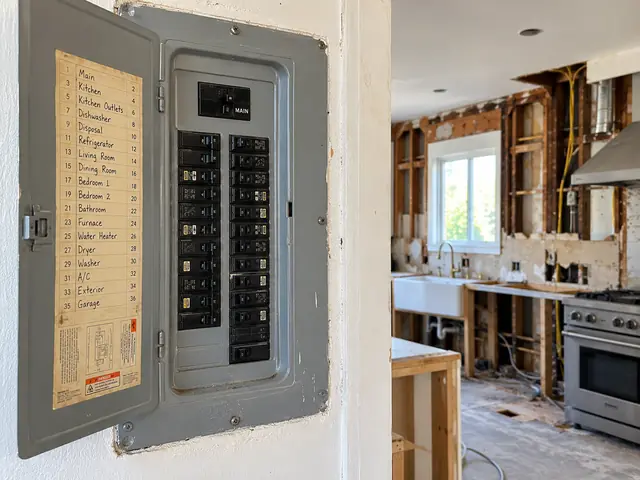
Existing wiring and electrical capacity. Older homes can have outdated wiring or panels that weren’t designed for a modern kitchen’s load. A good remodel plan looks at lighting together with the rest of the kitchen’s electrical needs. If you’re in an older home, it’s worth reading our post on electrical panel upgrades in older-home kitchen remodels.
Insulated ceilings. If a recessed fixture is going into a ceiling with insulation above it, the fixture has to be rated for that condition. Your electrician should confirm every fixture is rated for the ceiling it’s going into.
If you’re renovating a historic property, our guide to remodeling a historic home in San Francisco covers more of the planning considerations that come with older construction.
Color temperature and color rendering: the details people regret skipping
Two specifications on a light fixture or bulb do more than anything else to decide how your kitchen looks at night.
Color temperature is measured in Kelvin (K). Lower numbers look warmer and more yellow. Higher numbers look cooler and bluer. The U.S. Department of Energy generally recommends 2700K to 3600K for most indoor general and task lighting. What matters most is choosing one color temperature and using it consistently throughout the kitchen, so the under-cabinet lights, the ceiling lights, and the pendants all match.
Color rendering describes how accurately a light shows true colors, measured on the Color Rendering Index (CRI). The Department of Energy considers CRI 80 or higher acceptable for most home uses. In a kitchen, higher color rendering matters more than you might expect. It affects how your stone, tile, cabinet finish, and food look.
Here’s a practical tip most people never think of: once you’ve narrowed down your countertop and backsplash choices, look at the samples at night under light similar to what you’re planning to install. A stone slab that looks warm and creamy in a showroom with skylights can look flat or gray under the wrong light at 6 p.m. in December.
A note on California’s energy code
California’s Building Energy Efficiency Standards (Title 24, Part 6) include requirements for residential lighting, including fixture efficiency and lighting controls. The current 2025 edition took effect January 1, 2026. A kitchen remodel that requires a permit generally has to meet the lighting requirements in effect at the time.
Exactly what applies depends on the scope of your project and on your local building department. A licensed contractor should account for these requirements in the lighting plan from the start, rather than finding out at inspection that a fixture or control has to be changed.
Questions to ask before you approve a lighting plan
When you’re reviewing a kitchen remodel proposal or design, these questions help show whether the lighting has really been thought through:
- Where will the light land on each counter, the sink, and the range?
- Is under-cabinet lighting included, and where will its power supply go?
- How are the lights switched and dimmed? Which ones turn on together?
- Will all the fixtures share the same color temperature?
- How will fixture locations work with the existing ceiling framing?
- Does the plan account for current energy code lighting requirements?
If a proposal shows a lighting allowance with no fixture plan, it’s worth asking for more detail before you sign.
Planning a kitchen remodel this winter?
The weeks after the time change are the easiest time of year to notice what your kitchen’s lighting gets wrong. Write down what you notice this week, and bring that list to your first design meeting.
If you’re planning a kitchen remodel in Marin County or San Francisco, take a look at our kitchen remodeling services, or call us at 415-713-8061. We’ll start with how you actually use the room after dark, not just how it looks at noon.
FAQs
What is layered lighting in a kitchen?
Layered lighting combines three types of light. Ambient light fills the room, task light focuses on work surfaces like counters and the range, and accent light adds depth, such as lighting inside glass cabinets. Most kitchens that feel dim at night are missing the task layer.
When should under-cabinet lighting be planned in a kitchen remodel?
Before the electrical rough-in, well before cabinets and backsplash are installed. Hardwired under-cabinet lights need wiring run to each location, and many systems also need space for a power supply. Adding them after the backsplash is finished is much harder.
What color temperature is best for kitchen lighting?
The U.S. Department of Energy generally recommends 2700K to 3600K for most indoor general and task lighting. The more important rule is consistency. Every fixture in the kitchen should share the same color temperature so the lights don’t clash.
Can recessed lights be added to an older home with plaster ceilings?
Often, yes, but it takes more planning than in modern drywall. Plaster can crack around new openings, joist spacing in older framing can limit fixture placement, and fixtures in insulated ceilings must be rated for that condition. In some remodels, opening the ceiling fully is the cleaner approach.
Does a kitchen remodel in California have to meet energy code lighting requirements?
A kitchen remodel that requires a permit generally has to meet California’s current Building Energy Efficiency Standards (Title 24, Part 6), which include residential lighting and controls requirements. What applies depends on your project’s scope and your local building department, so your contractor should confirm the requirements during planning.